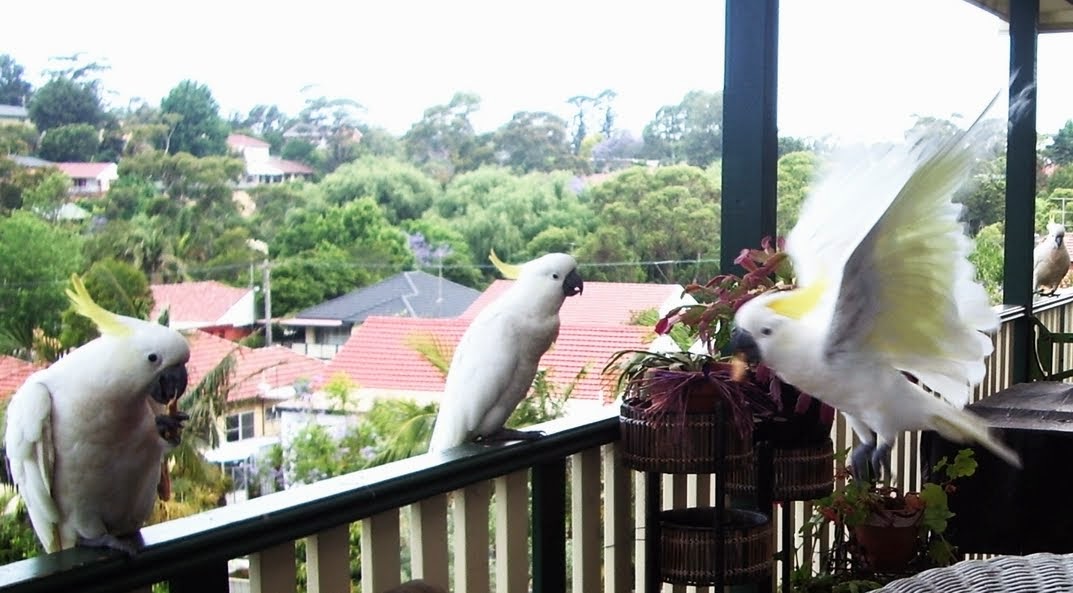
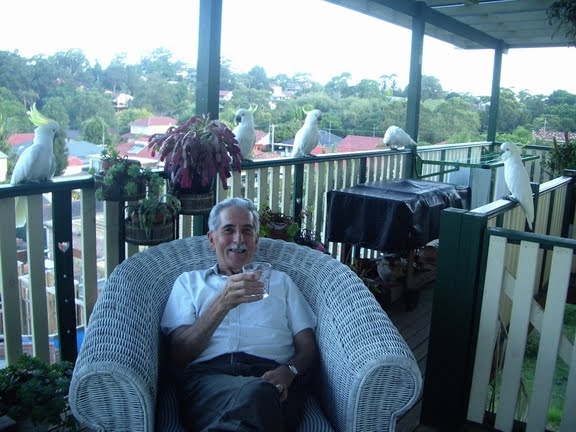
cockatoos in my deck - cacatuas en mi deck

cockatoos in my deck - cacatuas en mi deck

Followers

Monday, August 23, 2010

My long white scarf - mi larga bufanda blanca

It took me a while because I decided to have it very long (2.6 m), easy lacy stitch  but a very fine merino wool (4 plys), it just went on and on.......
------------------------------------------

Me llevo algo de tiempo porque decidi hacerla bien larga (2.6 metros), un punto de encaje facil pero en lana merino muy fina (4 hebras), era de nunca acabar.......


Here hanging of Jimmy' s Magnolia
-------------------------------

Aqui colgando de la Magnolia de Jimmy


Here hanging on my neck
------------------------

Aqui colgando de mi cuello

and here a close up view
-----------------------
y aqui vista de cerca

Tuesday, August 17, 2010

2 for me - 2 para mi

I managed to finish my ice blue merino cardigan. Been only 4 plys wool, it took quite a bit of time.
But intercalating with other easier projects wasnt too bad.

__________________________________

Finalmente pude terminar mi cardigan de merino azul hielo. Por ser lana de solo 4 hebras llevo bastante tiempo.
Pero intercalando con otros proyectos mas faciles no fue tan malo.


The back - La espalda


A close up view- some small shell buttons at front

______________________________

Visto de mas cerca- botones pequenos de nackar al frente


Also is ready my vest in alpaca (left over from Jimmy' s sweater) with a trimming in red and also shell buttons

________________________________

Tambien termine mi chaleco de alpaca (lo que sobro del sueter de Jimmy) con adorno en rojo y tambien botones de nackar


A the back a small split
_____________________

Un pequeno tajo atras


A close up view

_________________________

Visto de cerca


Jimmy' s rhododendrons are flowering at the moment and he is as happy as can be.

___________________________

Los rododendros de Jimmy estan floreciendo al momento y el no cabe en si de felicidad

Wednesday, August 11, 2010

Jimmy's alpaca sweater and my crochet sleeper-El sueter de alpaca de Jimmy y mi pantufla al crochet

Here is ready and he loves it!
--------------------------------

Aqui esta listo y el muy contento!


And for me these sleepers-a bit more practice with my crochet!

-------------------------------------

Y para mi estas pantuflas-un poco mas de practica con mi crochet!


The soles are filled with wadding-the tapestry outside and a red velveteen inside

--------------------------------------

Las suelas estan rellenas con wadding (en espanol?)-
Tapiz afuera y velveteen rojo adentro.


3 flowers on the strap- I copied them from Ale-El Blog de la India
with a hidden button to close.
____________________________

3 Flores en la correa-las copie de Ale-El Blog de la India
con un boton escondido para cerrar.

Thursday, August 5, 2010

My neighbour's cardigan- El cardigan de mi vecina


Some of you asked me about the cardigan I knitted for my neighbour....
It is one of Patons, from Book 1263.
I cant publish here the whole thing, I can only explain how I did it.
More explanations only by email.
____________________________________

Algunas me preguntaron acerca del cardigan que teji para mi vecina....
Es uno de Patons, del Libro 1263.
No puedo publicar aqui todo completo, solo puedo explicar como lo hice.
Mas explicaciones solo por email.


Basically the front is knitted sideways, that's why the name "Edge to edge Jacket"
The back and sleeves are knitted the normal way.
We start at the centre front edge: As many stitches as we need for the lenght of the Jacket + stitches for
     the  small piece for the back collar-equal to 6 cm + the stitches we need for across the front (1/4 of around the bust meassurement).
In the lower corner- in the right side of the knitting, we sl 1, K2tog, psso- every 2 rows. This will shape gradually the front design.
As the knitting grows, first we cast off the slim piece por the back neck ,5cm width.
Then we continue across the shoulders which is the diference between the neck piece and  the front.
Here we cast off the stitches equivalent of 22cm to shape the armhole, then advance until the side seam-6cm more. Cast off loosely.
The other half is knitted the same but in the opposite way.
The back  piece: bottom up.
The sleeves start with the equivalent of 24 cm.
Increase at each side until the lenght required and across 22 + 22= 44 cm (to match the armholes)
_____________________________________

Basicamente el frente es tejido de costado, por eso se le llama "Saco de orilla a orilla"
La espalda y las mangas se tejen en forma normal.
Empezamos en la orilla del centro: tantos puntos para el largo del saco + puntos necesarios para el cuello en la parte de atras-igual a 6 cm + los puntos necesarios para 1/4 de la medida de alrededor del busto.
En la esquina de abajo-del lado derecho del tejido, pasamos 1 punto, tejemos 2 puntos derechos juntos, y pasamos el punto sin tejer encima-cada 2 hileras. Esto formara gradualmente el diseno del frente.
A medida que el tejido crece, primero cerramos la seccion del cuello, 5 cm de ancho. Despues continuamos los hombros lo que es la diferencia entre el cuello y el total del frente.
Aqui cerramos los puntos equivalentes a 22 cm para formar la sisa y luego avanzamos 6 cm mas hasta el costado. Cerramos los puntos flojamente.
La otra mitad del frente se teje igual pero en sentido contrario.
La parte de atras: de abajo a arriba.
Las mangas empezar con el equivalente de 24 cm, aumentar de cada lado hasta el largo requerido y de ancho final 22 + 22 = 44cm (tal como las sisas)